Wednesday, December 11, 2013

DIY: Book Page Wreath

136 pages used.  Purchased book for $1 at Goodwill

I finally framed that owl feather I found on my walk

It took 24 pinecones to make this garland

100 ornaments to make this Ornament Garland


Just finished decorating the mantle for Christmas! The color scheme I wanted was gold, champagne & silver. I purchased 10 tubes of ball ornaments (in various sizes/styles).

Book Page Wreath Tutorial by Robeson Design
Cost: Book $1 at Goodwill; ornaments (I bought 2 tubes, various sizes/styles) $1 each from the 99 Cents Store

DIY Holiday Garland from Upside Down Grace
Too many tutorials out there. So I just picked one.
Cost: 10 tubes of ball ornaments (various sizes, styles & colors) $10 from the 99 cents store; Jute Twine (already had)

Pinecone Garland: bought 4 packs of 9 from Goodwill at 78 cents each; jute twine

Mirrors: already owned (clearance/yard sale purchases)

Branches: collected on our many outings to the park (free)

Candle Holders: already owned (clearance purchases from Target & Kohl's)


Wednesday, November 27, 2013

Thursday, October 31, 2013

Making Witch Finger Cookies


I've seen this one posted on Pinterest so many times. But these are the best instructions I've found. It took a couple of tries to get the right thickness and look.

I used store bought sugar cookie dough, added 1 cup of flour (you can use less or add a little at a time), then knead. If the cookie dough gets too dry, add 1/2 tsp of water (or enough to make it pliable). You don't want to put too much water unless it gets mushy.

After that, roll dough into a ball, then into a long coil. This helps make two/three fingers at a time. If the dough continues to fall apart, dip your fingers in some water, roll the coil into a ball again, and then roll into a coil. Think of it as working with clay. If it gets a little dry, just add some water. Press dough to flatten slightly if that is the desired look. Score with a knife, place the almond slices at the tip and press in place. Bake according to instructions.


First Test Batch - Made them too thick.
I just told the kids they were monster finger cookies.
Before - dusting/contouring with cocoa powder
After - dusting/contouring with cocoa powder

I made seven different sizes/thickness to test out. Then from there, I chose which size/thickness I'd use. I really liked how they turned out. Let the cookies cool down before dusting/contouring with cocoa powder.

Sunday, September 29, 2013

The Lorax Birthday Party


Since the kids chose a birthday theme that had no decorations available in store, meant that it was time to get crafty. It was a lot of work and I'm glad it all came together. Thanks to my MIL for letting us host the party in her beautiful backyard, thanks to the in-laws for helping me put the decorations up, thanks to my sister for the beautiful banner, candy wraps & cupcake toppers. 


Supply List

Truffula Trees
-Small metal pails from Target $1 each
Each store had various colors & designs but items were limited in stock.
-Pack of 12 Assorted Colors Mini Marabou Boas by Fun Express (for the Truffula tuft) purchased through Amazon $8
-Floral Foam from the 99 Cent Store
-Dowels from Walmart, 99¢ for a pack of 16
-Gray & White Paint to paint the dowels or small tree branches
-Satin pins or Floral U Pins from Walmart for 99¢ each
-Spanish Moss from Walmart $3.50
-Foam Balls

Blue Chevron Table Runner
-Self Adhesive Shelf Liner by The Macbeth Collection purchased through Amazon 2 pack for $11.99
I used masking tape instead of the adhesive on the liner so it would stay on the table. I plan on using it for another project.

Paper Pom Poms
If you do not know how to make Tissue Paper Pom Poms, here is a great tutorial with step by step photo & video.
-Tissue Paper (any color)
-Floral Wire from Walmart $1
-A good pair of Scissors
-Ruler
-Twine or Fishing wire (to hang)
The alternative would be buying them from a craft store (like Michael's or from a party store like Party City). It comes with tissue paper and the wire. Only problem is they are sold in limited colors and a bit pricey (range from $15.99 - $24.99). You can always use the 40% off coupon (from Michael's or Joann) to bring the price down.

Road Sign (North Nitch, South Stitch, Weehawken Rd.)
-Wood-shims bundle Homedepot $2
-Spray Paint Krylon ColorMaster Gloss Bauhaus Gold & Watermelon from Walmart $4 each
-Black fine-point Sharpie Pen
-Small Square Vase
-Floral Foam from the 99¢ Store
-Spanish Moss from Walmart $3.50
-glue gun

The Lorax Candybar Wrappers
-Pink Cardstock
-2 inch Scallop puncher
-1 inch Circular Sticker Labels
-Double stick tape
-Chevron Cardstock Paper from Joann
-Printer


Wednesday, September 18, 2013

DIY: The Lorax Piñata


pull string piñata

This year the kids wanted a Lorax themed birthday party. I could not find a Lorax piñata that was affordable, so I thought I'd make one. I really didn't want to do a paper mâché piñata. I wanted something a little less messy and little more straightforward. Some great references:

Alicia Policia: You may know her from the Tom Selleck birthday cake. This girl knows her piñatas. She provides very detailed photos on her pull string piñata. I'm all about The Muppets, pictures and details.

OhHappyDay!: Do I really have to say anything about this one. If you don't know, go explore her site now! So many great ideas! Once again details and pictures make a world of difference. 

The Lorax Piñata

Supply List


Crepe Paper
Great place to buy is your local 99 cent store. They sell 2 in a pack. 
3 packs of orange crepe paper (for the body - front & back)
1 pack of yellow (for the eyebrows & mustache)
1 pack of black (outline for the eyes)
1 pack of the green (grass) 

Cardboard, Masking Tape, Pencil, Sharpie, Box Cutter, Twine, Elmer's Glue
Cardboard for free! I usually go to my local grocery store and look for the large boxes. The larger boxes have a large, flat surface area to work with. If you cannot find the size you need, you may have combine boxes and reinforce them with tape and cardboard strips. 

Flowers 
The flowers are essentially small tissue paper pom poms. Here is a great tutorial if you do not know how to make them. Use any color tissue paper you want.  

Scissors, Ziploc bags, Movie
Mostly for prepping. I cut all my crepe paper ahead of time and stored them in gallon ziplock bags while watching Season 1 of Jericho. Why was this show canceled? 

Two makes everything better 
Having an extra pair of hands with prepping & gluing will make this process go faster. It's tedious & repetitive.

Only cost me $12 to make and took a week and a half to finish (mostly worked on it at night). Let's hope it works!

Update
After all that hard work, I couldn't bear to have it smashed. So I turned it into a pull string piñata. It worked out great! 

Some tips:

-Just make sure the candy door is low/wide enough to adjust the paper & pull string at the bottom of the piñata. I doubled up on the paper & tape to make sure it held the weight of the candy.

-Give yourself enough time to prep and work on the piñata. The size of the Lorax piñata I made stood 3ft. tall x 2ft. wide. Having an extra pair of hands will help the process go by faster.

-If you intend on hanging the piñata with candy in it, make sure it's not chocolate. Chocolate has a tendency to melt especially in the heat or if the piñata is in direct sunlight. At the party, it was only 76 degrees and the chocolate candy was all mushy. Save the chocolate for the goody bags.

-Reinforce the top portion/head if you plan on bashing your piñata. 


Monday, September 16, 2013

Pom Pom Number Birthday Decoration


Tutorial from Lowe's: Pom Pom Number Birthday Decoration

Supply List
-Glue Gun
I had better luck with the glue gun. It adhered to the cardboard quick so I didn't have to wait long for it dry.
-100 pack Coffee Filters from the 99 cents store
Each number took 150 filters to achieve the look
-Cardboard FREE!
-Spray Paint choose your color(s) $4
-utility knife & scissors

This project didn't take very long. A good day and a half is all it took. I substituted the foam board for cardboard. If your cardboard isn't thick enough, just double it up or reinforce it with cardboard strips. Also, you can use wrapping paper to cover the exposed cardboard (which I didn't think to do till I was done).

I didn't follow step 2 & 3 in the directions. It wasn't looking ruffly or full. It looked bare and like I just glued down coffee filters. I wanted it to look like felt rosettes. Instead, I dabbed a spot of glue on one coffee filter (ruffly side up), then placed another coffee filter (ruffly side up) on top. Fold in half, fold again, then shape/fluff before gluing it to the cardboard. It's like making felt rosettes just without felt or pinning it. After you are all done gluing, adjust the coffee filters, cut/push/reshape to form number. Remember to turn over and shake to remove all the excess trimming that may be stuck in the coffee filters. Pick your colors and spray paint.

Wednesday, October 19, 2011

She has arrived...


Where: At home
Temp: 87 degrees & humid
Mood: Exhausted & Drained
Weight: 165lbs.
Two Ups: Good to be home & glad to see my little man adjusting well, so far
Two Downs: Being drugged up on Vicodin (had a c-section & still in pain) & feeling drained


Saturday, September 10, 2011

Surprise!

P1050388 P1050397 P1050384 P1050383 P1050360 P1050402 P1050351
Where: At my MIL's House
Temp: 98 degrees humid with a nice evening breeze
Mood: Surprised and in Awe
Weight: 178lbs.
Two Ups: On Maternity Leave & Somewhat sleeping in
Two Downs: Getting restless & Braxton Hicks

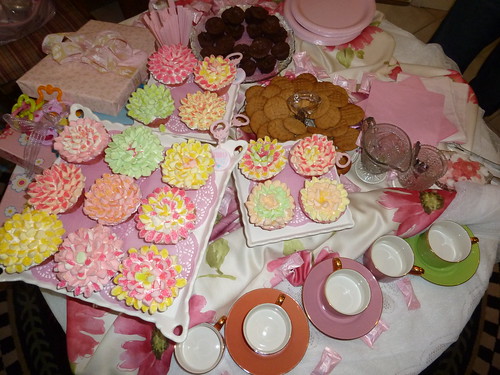
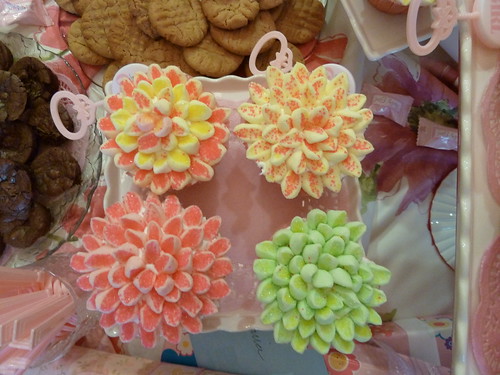
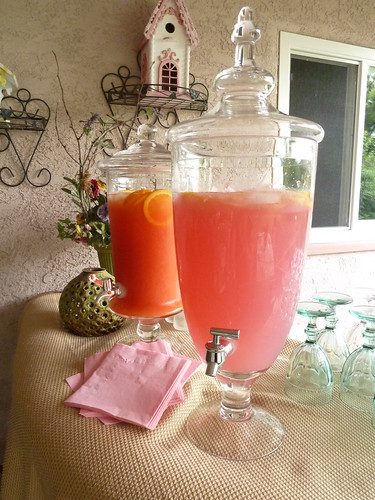
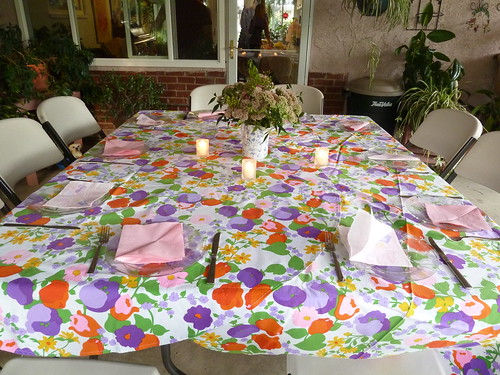
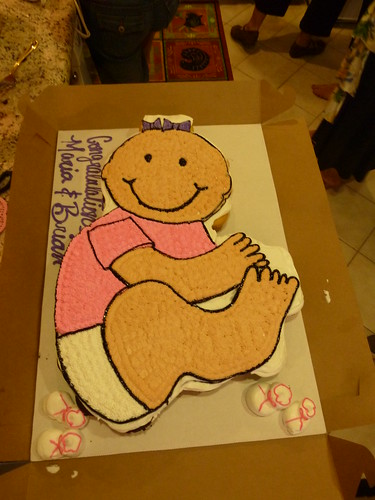
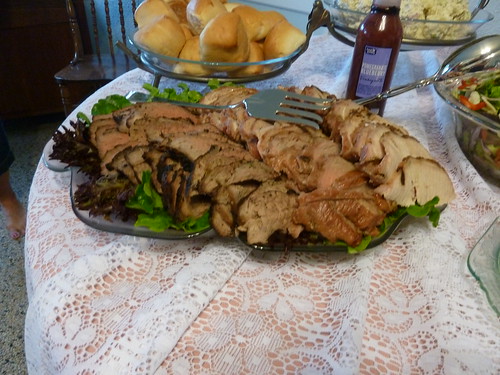
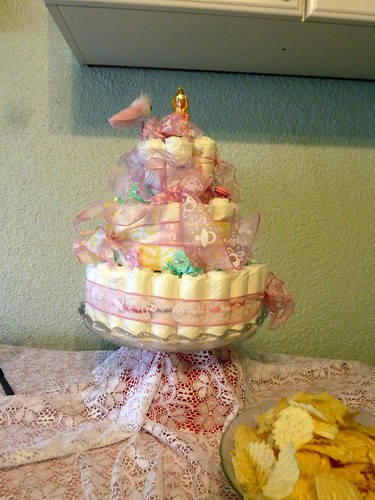
Thanks to the in-laws for the "surprise baby shower dinner." Although my MIL insists it wasn't a baby shower, just a dinner. They went all out and I am grateful to have them in my life. Thanks ladies!